Last year before christmas a friend told me you could make your own pralines at home. Before, I had made round pralines of different kinds of truffles, but this was different - she informed me about praline molds.
In other words, plastic forms in different shapes that use use a special method to fill to get perfect pralines that look store bought! I absolutely loved it, so I bought two praline molds from
chokladgallerian.se. (Another tip is
pralinformar.se or just using
ebay)
Then I started experimenting with mixed results. So now, this Christmas, of course I'm experimenting with new flavors again. I have already made a batch of heart shaped pralines that turned out really good! I'm going to give you the recipe later, but first to prepare you for the upcoming praline recipes
you need to first know how to temper chocolate!
So what is tempering chocolate you ask? Well it's a method of preparing the chocolate before making pralines.
By tempering chocolate it gives it that smooth shiny surface that is so typical of pralines, and also in contrast to untempered chocolate it won't melt instantly when held in a warm hand - making sure to prevent a messy experience.
At first when I heard of tempering I expected it to be hard or that you needed special equipment of some sort that only professionals could handle, but it's actually not that hard and the only "special equipment" you need is a thermometer.
So what do you need?
♥ Chocolate (of any color and quality)
♥ A bowl
♥ A pot of hot water and a stove
♥ A thermometer that can show temperatures between 20-60 °C
♥ A spoon for stirring.
Not much right? So let's begin tempering! :)
I used white chocolate from Fantasy for tempering this chocolate (which I also used to make the shells for the pralines, but I will show you how to make chocolate shells for pralines another time). It's a great chocolate that usually is kind of expensive, but since I bought is at ÖB (a special store that sells left over product from companies who have produced more than the grocery stores want to buy from them) I got them at a cheap price :)
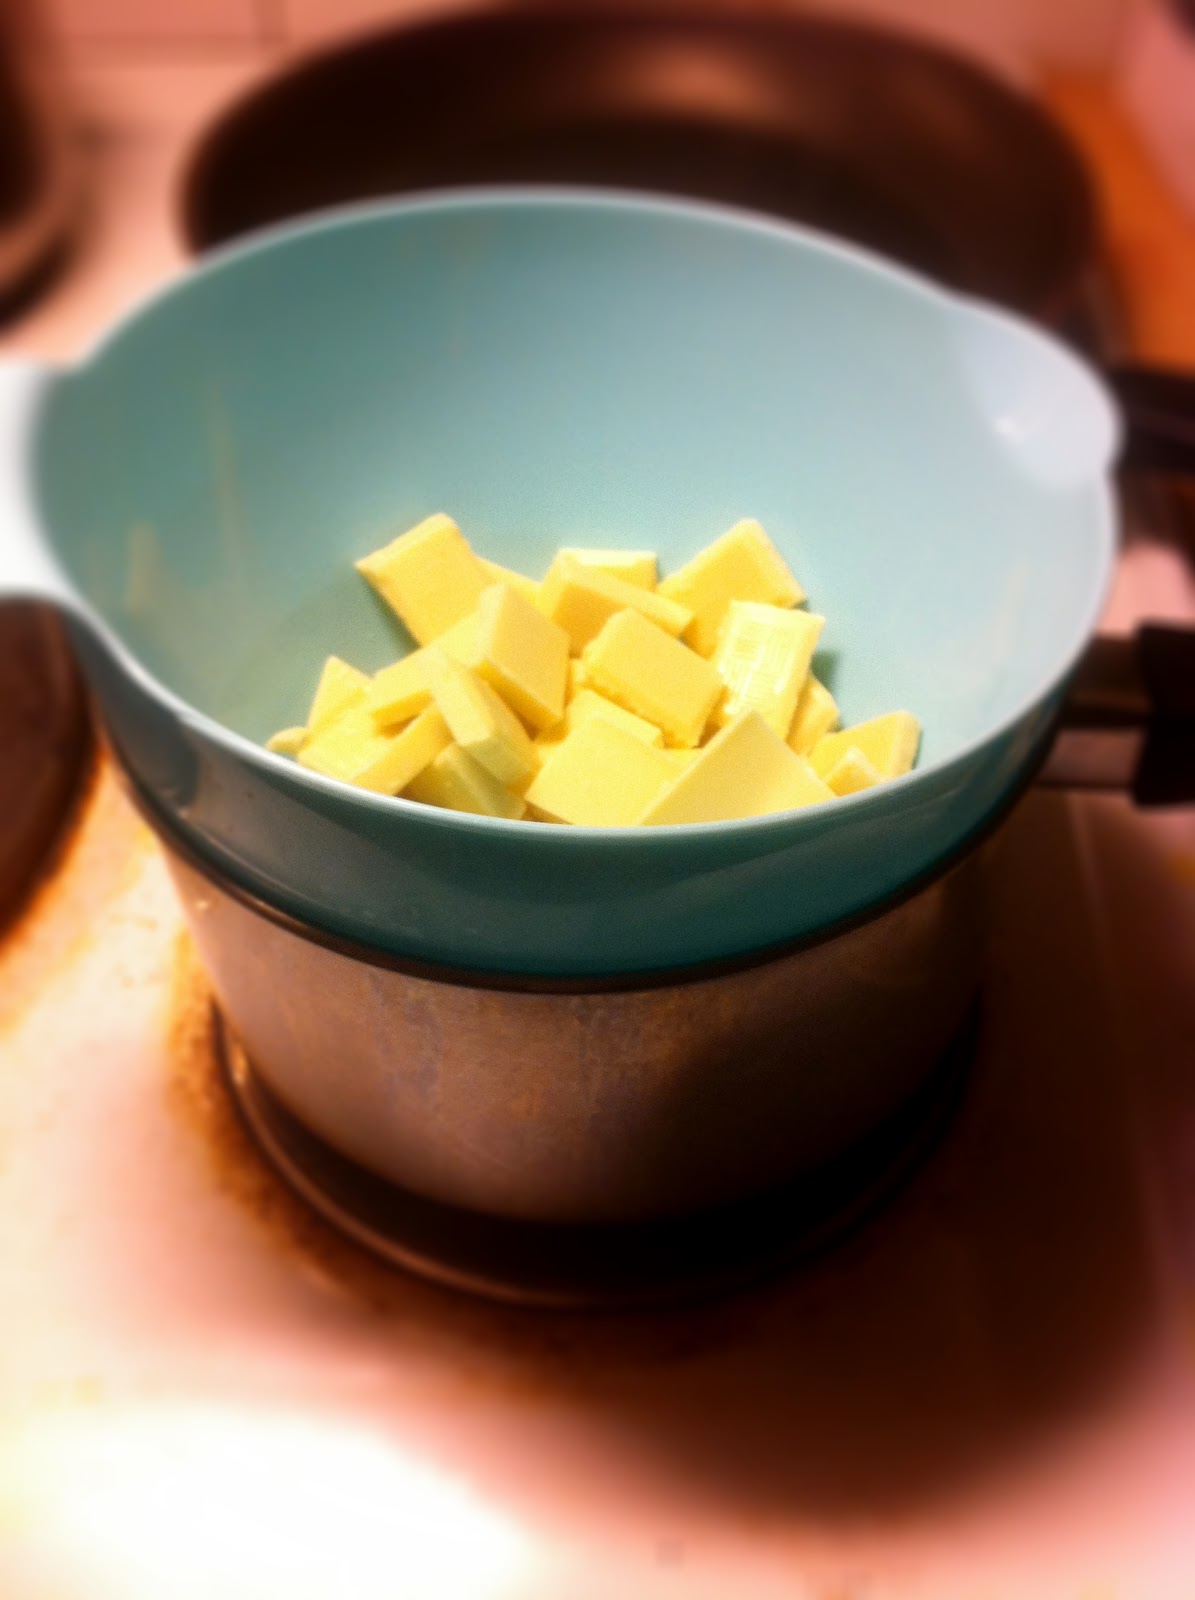
When you have chosen your chocolate break it into pieces and put it into a bowl. You are going to melt the chocolate and heat it up to a certain degree, then cool it down so the chocolate crystallizes, and then finally heat it up slightly to work temperature. This is the process called "tempering". But the temperatures are a little different depending on what type of chocolate it is.
♥ Dark Chocolate Is supposed to be heated to 50-55°C, cooled down to 27-28°C, and then once again heated up to a working temperature of 31-32°C.
♥ Milk Chocolate is heated up to 45-50°C, cooled down to 26-27°C, and then heated up again to a working temperature of 29-30°C.
♥ White Chocolate is heated up to 45-50°C, cooled down to 25-26°C, and then heated up to a working temperature of 28-29°C.
Since I used white chocolate the pictures will reflect the temperatures of white chocolate tempering.
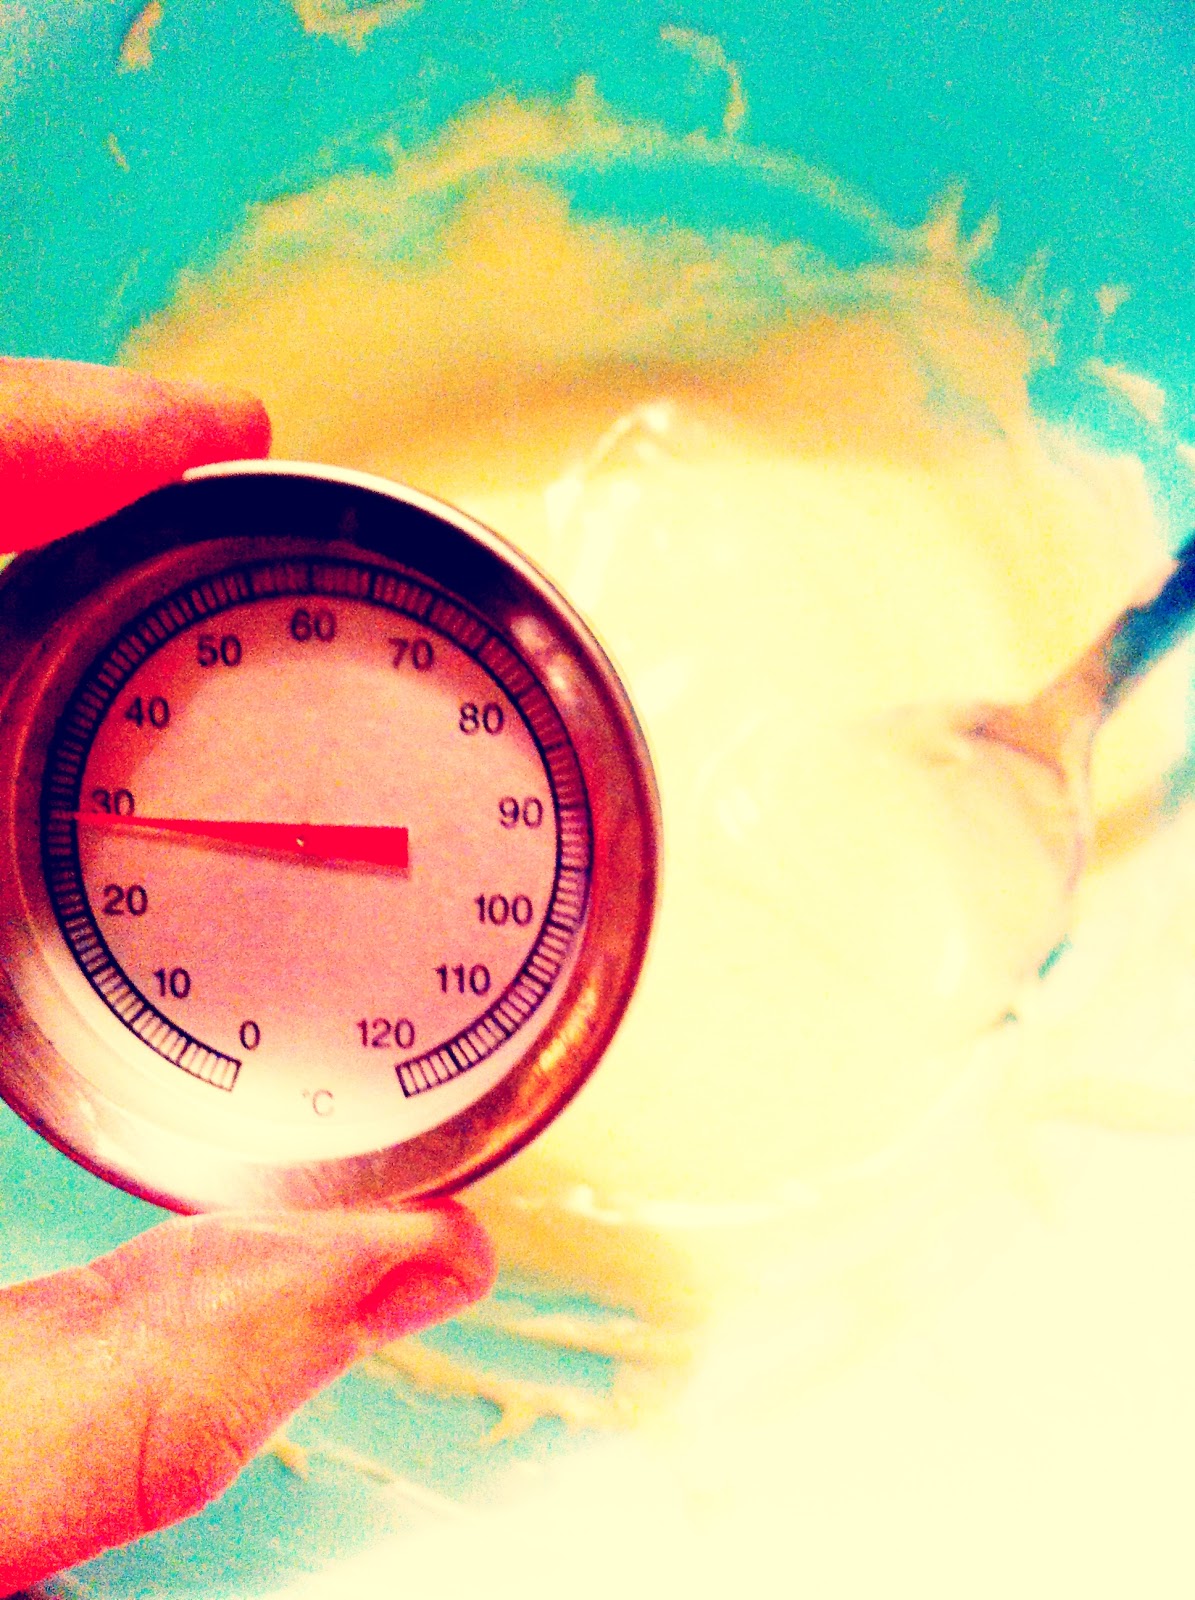
After breaking the chocolate into a bowl put it on top of a pot of hot water on the stove and stir until the chocolate melts. Keep track of the chocolates temperature with a thermometer.
Since I used white chocolate, I wanted to heat the chocolate up to 40-45
°C. Be careful not to overheat! Once the chocolate has begun to warm up it easily rises in temperature. If you overheat the chocolate it will go bad, become crumbly and unusable!
After heating up the chocolate you now need to cool it. It can be done in several ways. One way is to spread out the chocolate on a clean marble table top (it's what professionals use). Now if you don't have a marble table top at home you can put your bowl into a sink of cold water and stir the chocolate around in the bowl. (
Be careful not to let any water into your chocolate, getting a few drops of water in the chocolate won't ruin it, but it will have a dappled appearance of different shades when it dries.) You can also add room tempered chocolate to the bowl and stir as this also cools down the chocolate. Keep once again track of the thermometer until the chocolate cools to the goal temperature.
When you've cooled down the chocolate to the desired temperature you need to once again reheat it, though this time it's only to working temperature which is only a few degrees higher than the crystallization temperature, it is therefore important to keep track of the thermometer.
If you heat up the chocolate higher than the specified temperature the tempering will be useless and you have to redo the whole process from the beginning! Chocolate can be tempered as many times as you want to, so you do not have to worry about ruining the chocolate if you make a mistake, but it will take time to redo so keep an extra eye out for the last heating of the chocolate as the temperature rises very suddenly and very quickly!
After doing this you are finished with tempering your chocolate and you may now use it for making praline shells or other baking where you want tempered chocolate.
As you noticed it's not very hard, but i required
constant supervision when heating up the chocolate as it is a very precise process.
Next time I will show you the pralines I made with this tempered chocolate and of course give you the lovely recipe <3
//Wayu


No comments:
Post a Comment